
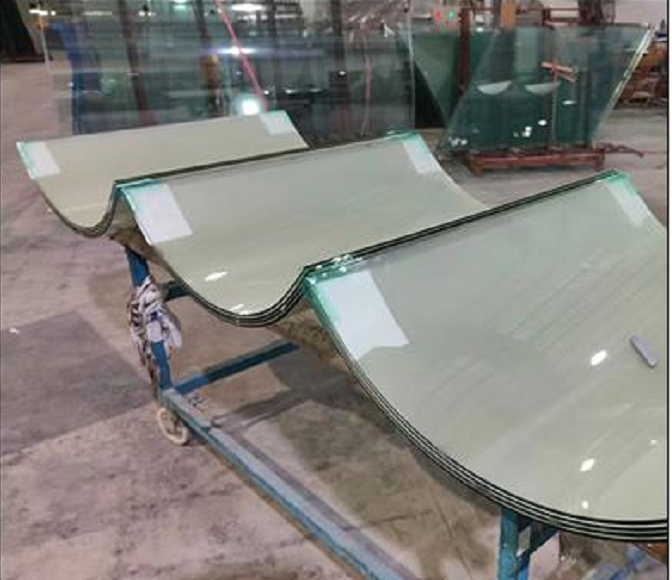
Why Your Glass is Cracking During Annealing
Ever have a piece of glass shatter right in the oven? Or worse, you move it to the warehouse and it just… pops? It’s frustrating. Usually, it happens because the inside of the glass and the surface aren’t cooling at the same rate. That temperature gap creates a kind of hidden tension. When that tension gets too high, the glass gives up. It cracks.
The Headache of Old Heating Elements
A lot of plants are fighting with old lamps that have “cold spots.” It’s a nightmare. When you try to swap those old lamps for something new, the connectors are usually where things go wrong. If the plug doesn’t sit just right, you get arcing or heat that’s all over the place. We spent a lot of time making sure our interfaces actually fit. Whether you’re dealing with spiral heads or some weird custom connector, we want it to be a simple drop-in. No fighting with the hardware.
Stop Wasting Time on Installation
Nobody wants to spend their afternoon modifying a mounting bracket or rewiring a control panel just to get a new lamp to work. Every hour you spend fiddling with a wrench is an hour your production line isn’t moving. That’s why we focus on the footprint. Our gear is built to slide right into the existing slot and match your electrical load. You just put it in and get back to work.
Finding the Right Balance
Here’s a tip: if you upgrade to higher-density heating elements, your annealing curve gets better. But there’s a catch. More concentrated heat can actually shift where the stress builds up in the glass. You can’t just crank up the heat and leave everything else the same. If you don’t adjust your conveyor speed or soak time, you might just be trading one kind of crack for another. We handle the hardware side of things—making sure the connection is tight and the heat stays steady. No flickering, no voltage drops, no random temperature swings. You handle the timing. That’s the secret to stopping the cracks.